Advertisement

Showing posts with label homemade food. Show all posts

Tuesday, 13 October 2015

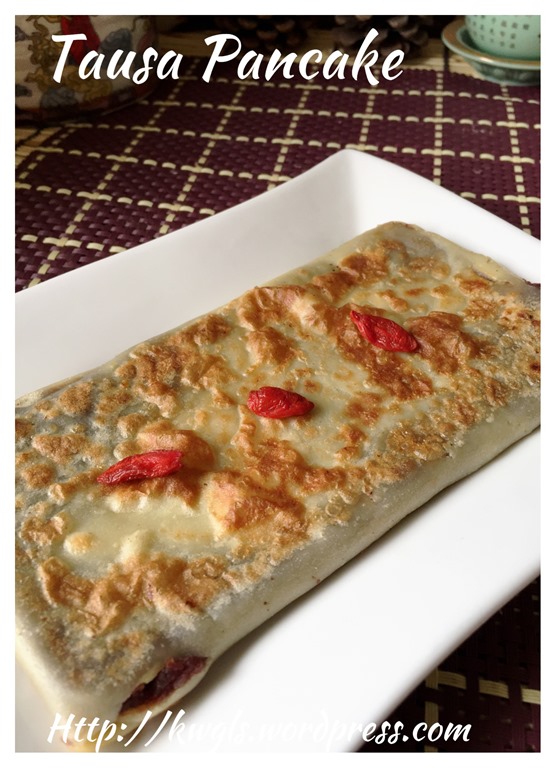
Chinese Red Bean Paste Pancake (tausa pancake or 豆沙锅饼

IMG_4469
INTRODUCTION
Usually, I do not like to issue recipe on Saturday as readers statistics showed that very few people are reading blogs.. In addition, I was rushing out submission recipes for magazine submission..
IMG_4483
However, when I pre-posted my tausa or red bean crepe cake in a few Facebook Groups, likes are escalating and many people seems to wait for the recipe though I have told them I will share within two days time. 
IMG_4475
Seeing the huge number of Likes, I have decided to squeeze sometime now to issue this recipe to avoid members waiting.
IMG_4491
This is a very common dessert usually served in the Chinese restaurants especially in the Shanghai area. In most restaurant after an 8 course dinner, this sweet Chinese crepe cake is usually served. It is supposed to be crispy on the outside and soft and sweet in the middle. Usually, red bean paste is used though for home made, I will assume you can use any type of fillings.
IMG_4479
Preparation in not difficult at all.. It just need a bit of practise. The crepe cannot be too thick or too thin. Too thick there is a tendency to break and too thin, the dessert will be too sweet. If you have leftover mooncake fillings, you can always prepare this dessert for your family.
IMG_4501
This is a Chinese dessert originated from Shanghai and the neighbouring Yangzhou. It was once a dessert common served in Shanghainese restaurant but eventually it become a snack commonly served in most eating outlet. As Per Baike:
“上海和扬州一带的风味点心。最早始于扬州,20世纪20年代后盛行于上海。起初是酒席、点心宴的配套点心之一,现在已成为上海地区的特色点心。因用甜豆沙为馅制成,故称”豆沙锅饼”。目前上海各著名菜馆和点心店都在经营此点。” (Source: http://baike.baidu.com/view/192620.htm)
IMG_4463

WHAT IS REQUIRED
Servings: 4-6 adult servings
IMG_44471
  • 100 grams of bread flour
  • 200 grams or ml of plain water
  • 1 egg
  • 200 grams of red bean paste
IMG_4481

STEPS OF PREPARATION
PicMonkey Collage1
  • Put the flour in a bowl. crack the egg, and add 1/3 of water. Whisk until it forms a sticky dough. Add the other 2/3 of the water, stir until in become a liquid batter.

  • Heat up a flat non stick pan or skillet under medium heat. Put about 1/4  of the batter and swirl it round until the surface is fully covered with the batter. Let the batter dries up. The crepe is considered as cooked when it dries up,  the colour changes, air bubble starts to form at the bottom of the crepe and the sides of the crepe starts to curl up. Lightly lift up the side of the crepe and transfer to a plate. Let it cooled completely before proceeding the next step.
PicMonkey Collage2
  • Divide the red bean paste into 4 portion of 50 grams each. Put it on top of a clingy wrap and wrap it in a rectangular shape.  Use a rolling pin to roll it as flat as possible and to the size that fits your crepe. Transfer the rectangular red bean paste and put on the centre of the crepe. Wrap it out and ensure the red bean paste are fully covered. Prepare the remaining three portions.

  • In a flat frying pan, put 1-2 tablespoons of oil, pan fried the pancake until both sides are crispy and turn golden brown. Best served hot directly from the pan.
IMG_4465

CONCLUSION
Not a difficult assignment and a rather presentable dessert to serve your guest. Do give it a try and let me know if it suit your taste bud.
IMG_4477
Hope you like the post today. Cheers and have a nice day.
IMG_4473

Monday, 12 October 2015

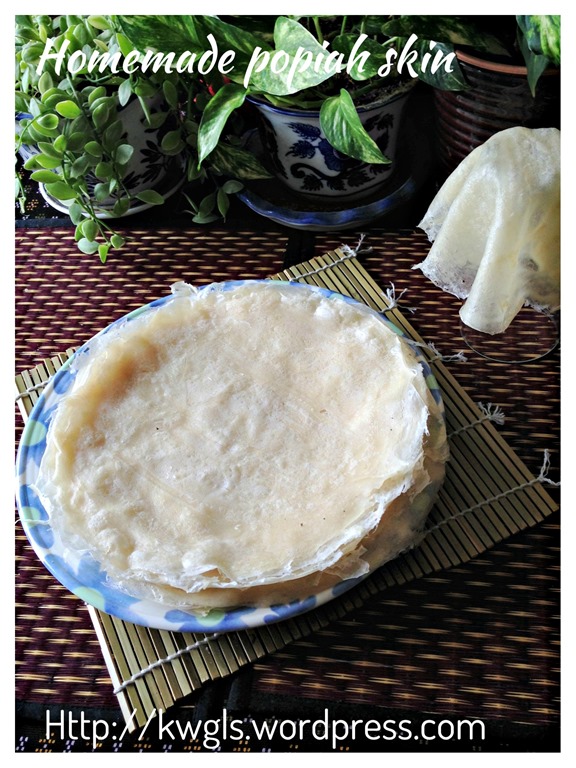
Homemade Spring Roll Crepes–Popiah Skin (春卷皮,薄饼皮, 润饼皮)

IMG_80651
INTRODUCTION
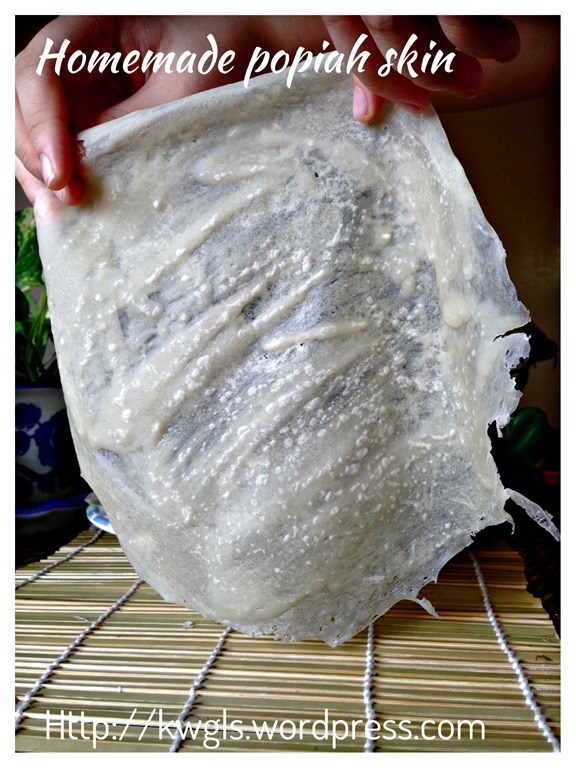
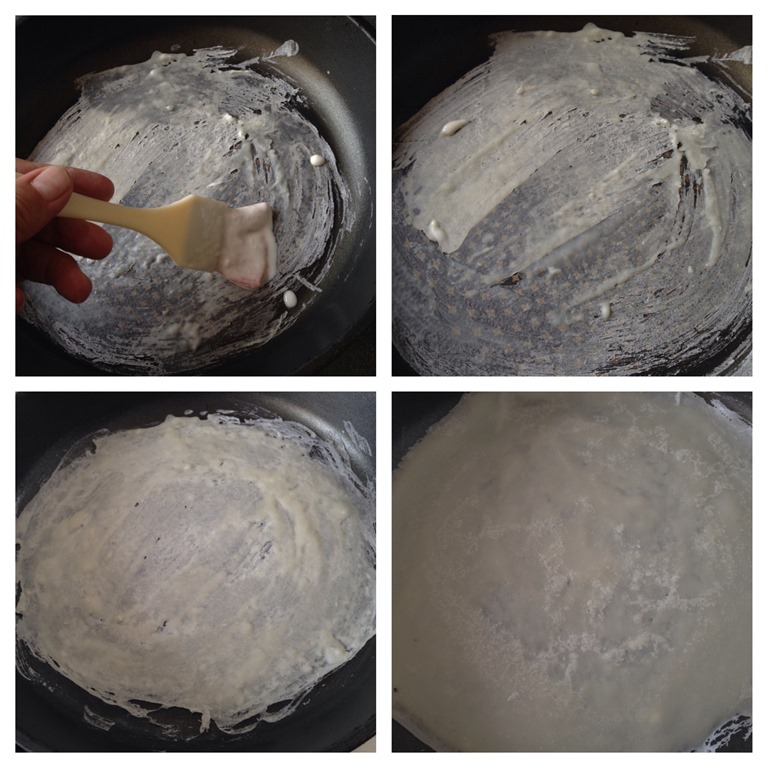
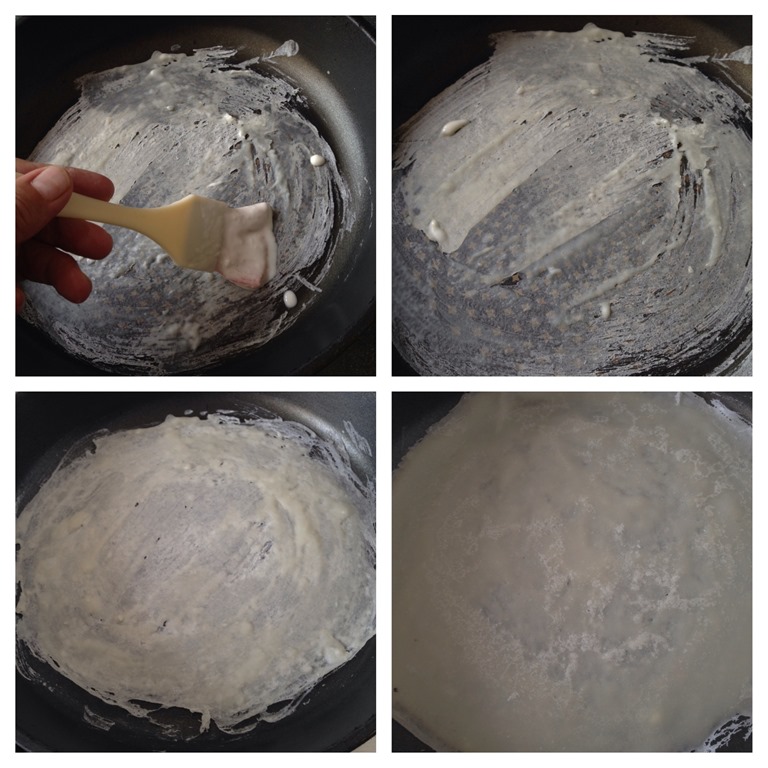
Imagine that you are painting a flat pan with some sticky batter… You try to cover the holes in between… You keep covering the holes until it become one piece… You take out the courage to use your hand to turn the crepe…after one minutes it is done….
IMG_80591
This is the home chef version of homemade spring roll skin recipe. Unlike the professional version where you need to knead the dough until gluten developed, soaked in the water for one hour, take out the dough ball, quickly rub the ball against the hot flat pan leaving a thin sheet of dough in the pan… That is not for house chefs and they need years of experience to get the required thickness and timing correct… I have decided not to try this recipe as I am not that ambitious….
IMG_80531
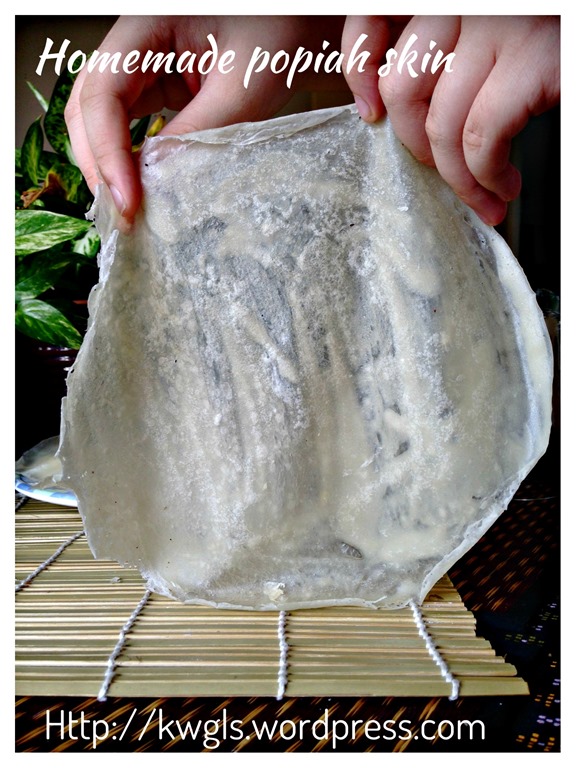
I almost give up when I prepared my first few sheets.. It broke terribly …. Unsure what went wrong but obviously it was because of the suggested rubbing oil in the pan that I followed…. After preparing 3-4 sheets, I started to get the feel, I alter the batter a bit to make it slightly stickier and it become much easier… By the end of the exercise.. I am confident to share with all this recipe and the method of preparation…. I hope this will give house chefs who failed before some confidence that it can be done it we are “calm and cooked on”, Haha..
IMG_80471
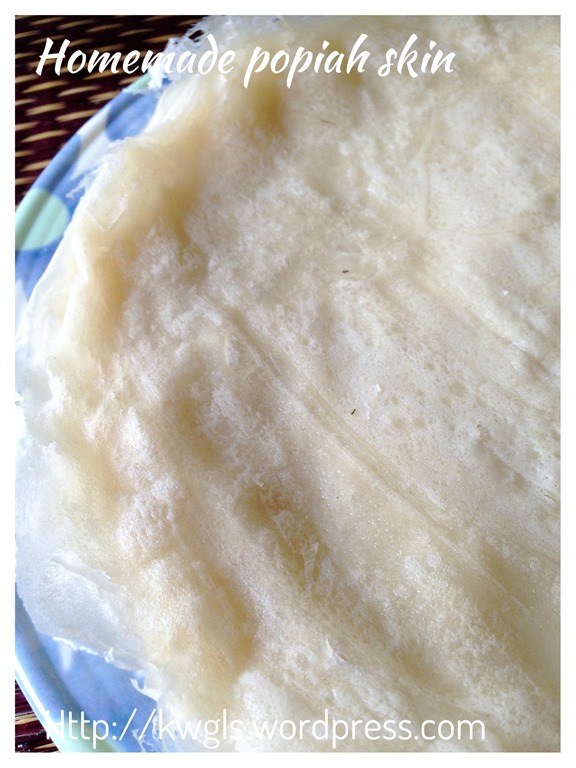
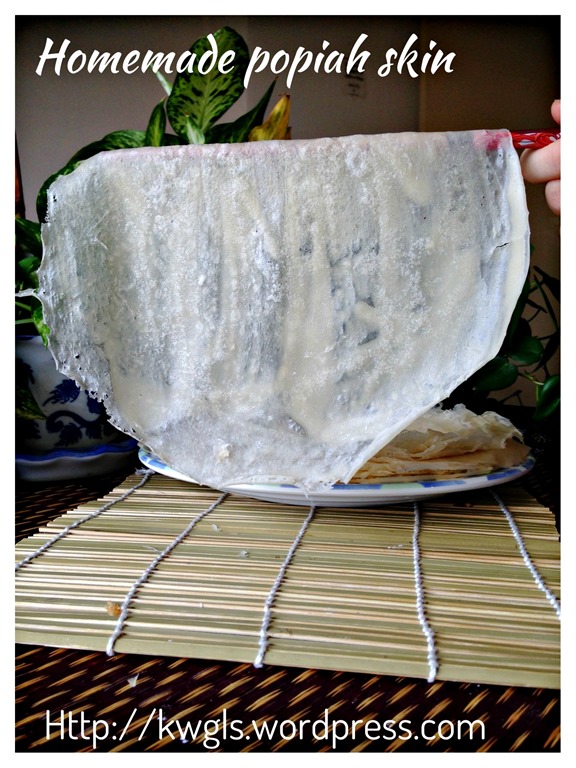
It is expected that the skin is slightly thicker and uneven as compared to the commercially sold version.. It doesn’t matter to me at all.. When freshly prepared, it is soft and goes well with the filling.. A bit thicker is not a hindrance for me to prepare again next time.. I feel comfortable and happy with this batch of spring roll skin… Though thicker, it is less prone to breaking and is it not better for us?
IMG_8076
I prepared this is because I craved for Sarawak style of dry popiah .. I prepared these popiah for lunches and I am happy that it’s done. If you are interested, you can refer to this post: Malaysian Singaporean Chinese Food–Popiah Sarawak Style (干式薄饼)These popiahs are great for party as you can hold and socialize around and it can be prepared well in advance…
IMG_8086

WHAT IS REQUIRED
Servings: Prepared about 15 crepes depending on your thickness.
IMG_8032
  • 160 grams of high protein flour or bread flour
  • 250 grams or ml of plain water
  • pinches of salt
  • 1 tablespoon of cooking oil
IMG_80611


STEPS OF PREARATION
IMG_8094
  • Mix all the ingredients together , stir until it is free of lumps. If you prefer, you can use and mixer to beat a few minutes until no lumps were sighted. Cover with a piece of wet towel or clingy wrap and let it rest for about 1 hour to enhance the stretch ability.

  • When the batter is ready, heat up a flat non stick frying pan (about 9 inches diameter or bigger) until it is warm. As long as you can feel the heat over the pan, the pan is ready. Turn to low heat. Get ready a brush and brush some batter on top of the pan.
IMG_8095
  • Brush the entire pan until it is fully covered with the batter. Once the batter sets (means not sticky) and the sides curls up, use the hand to take out the crepe and turn to cook the other side for about 1 minute. The crepe is considered as cooked once it dries up. Note that once it dries up, you have to take out the crepe. Otherwise, it will be burnt or become too crispy for wrapping.
IMG_80571
Notes:
  • If you do not have a non-stick pan, LIGHTLY GREASE the pan with an oiled tissue paper. Too much oil in the pan will be very difficult to “brush” the pan;

  • Make sure that you stir the batter before you brush the pan. The flour will settle at the bottom and making it very difficult to brush with watery batter.

  • This is a recipe with great tolerance for error. A bit more flour is okay. If you find that the batter is too watery to brush, meaning, the brushing is very thin, add one tablespoon of flour to the batter until you are comfortable with the consistency of the batter.

  • Do give yourself some allowances of few unsuccessful pieces initially, and do not care too much about the unevenness.. it will gradually get better. There are always learning curves in the preparation.

  • Cover the popiah skin with some moist but not wet cloth if you are not using it immediately. Alternatively, put in an air tight container.
IMG_80511


CONCLUSION
If you are not a perfectionist, do go ahead to try and such imperfections combined well with the popiah fillings and none of the guest will notice and ever complain your imperfections…Thicker skin will also boost your confidence of wrapping the popiah as it is less likely to break.. If you are an artist, I presumed you can “draw” better and produce a better even one than me, ha-ha…. Do try, it is really an  achievement to have home made popiah skin.
IMG_80551
Lastly, I hope that this post will benefit overseas members or even local members whom have difficulty to buy freshly made popiah skin… Have a nice day and cheers..
IMG_80631

Sunday, 11 October 2015

Let’s Prepare Mochi Bread From Scratch–Korean Black Sesame Mochi Bread (韩国黑芝麻麻糬面包)

IMG_45211
INTRODUCTION
When I issued my Brazilian Cheese Bread recipe yesterday, members of Facebook Group are asking if this is the same as the springy texture Korean Mochi Bread..
IMG_44791
I have heard so much about this Mochi bread and in fact, I have never try the bread before. But looking at the pictures in the internet, I knew it is not the same as Brazilian Cheese Bread..
IMG_44891
I knew this is a trendy bake and most recipes in the net will need to buy Mochi bread premix.. I am rather doubtful about the need to to buy such premix since it is a Mochi bread literally translated as bread made from glutinous rice flour.
IMG_45091
Mochi is a Japanese term for sweet rice or glutinous rice. As per Oxford Dictionary, Mochi is a short-grained, sweet, glutinous rice with a high starch content, used in Japanese cooking.(Source:http://www.oxforddictionaries.com/definition/english/mochi). 
Japanese do have glutinous rice flour called Mochiko flour and Shiratamako flour. On the other hand, Korean also have its version of glutinous rice flour called Chapssalgaru 찹쌀가루. If you looked at this website on Korean cooking ingredients: you will see that all the three types of glutinous rice flour were discussed in the same post. : Sweet rice flour – Chapssalgaru 찹쌀가루 .
IMG_45361
If Mochiko or Chapssalgaru is equivalent to our glutinous rice flour or sticky rice flour,  Asians in general should be very well versed with this ingredient as it had been used in many of our steamed cakes like red tortoise kuih and nonya kuihs.
IMG_44911
I have found this Korean website that provide 2  homemade Mochi bread recipes, one uses Mochiko flour  but another one called for the use of Mochi Bread Premix .. After analysing their ingredients and on the assumption that Mochiko flour is the same as our glutinous flour, I proceed to test the recipe that I summarized from these 2 recipes.
IMG_44951
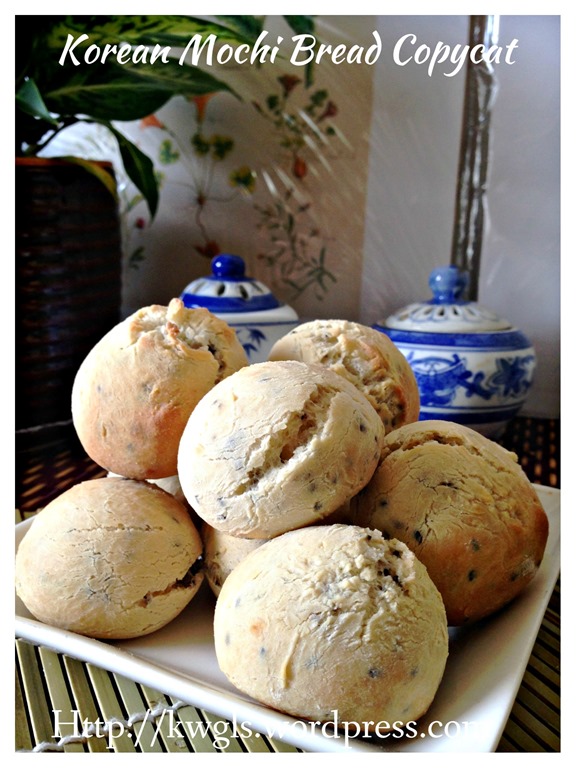
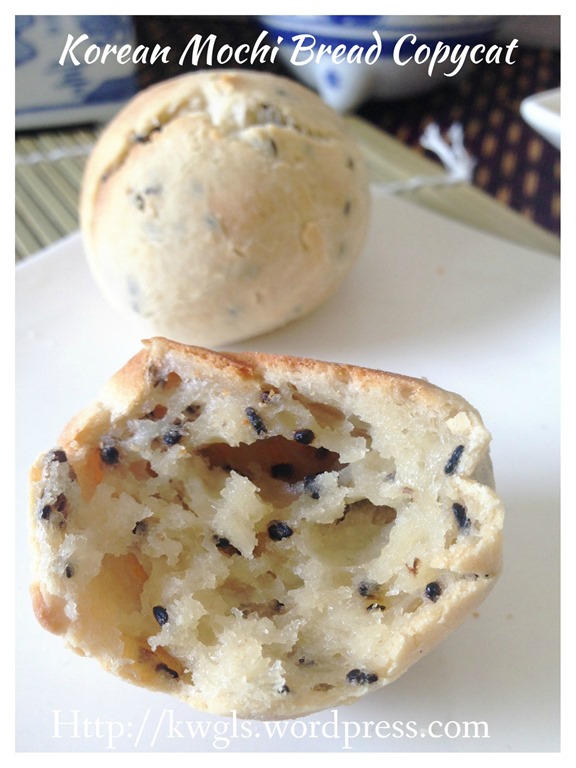
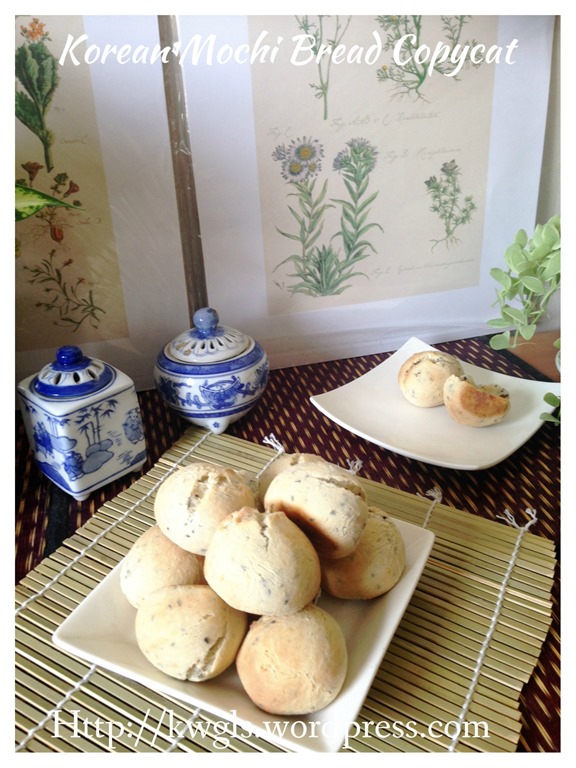
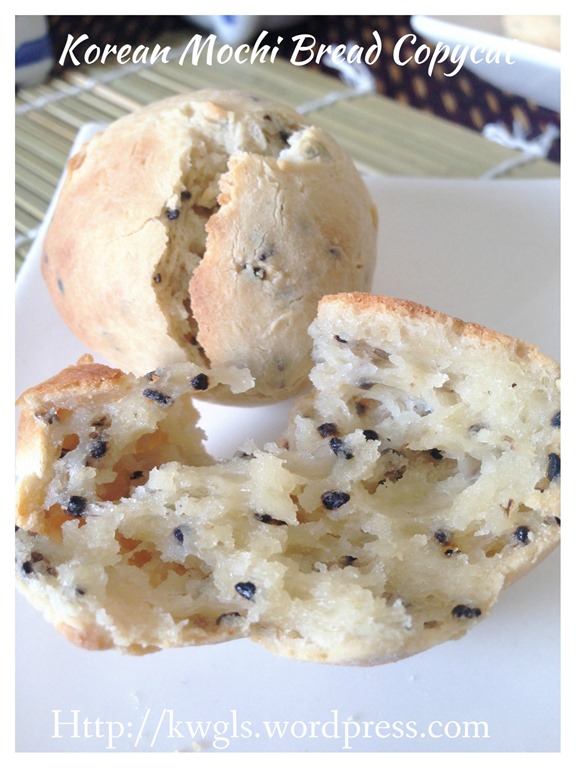
I am very happy with the outcome. It fits with the description of what most bloggers who used the premix in their preparation have described: Crusty on the outside, chewy in the inside full of black sesame flavour. However, I do not wish to guarantee you that it taste exactly like the premix as I have never taste it before.. I will leave it to readers to decide if this look like those that you have prepared from the pre-mix and give it a chance. If yes, you will save some money by preparing this from scratch since glutinous rice flour is very economical when compared to the Mochi bread premix.
IMG_45131

WHAT IS REQUIRED
Recipe adapted from : Korean Sesame Mochi Bread
Servings: Prepared about 12 Mochi buns
IMG_4466
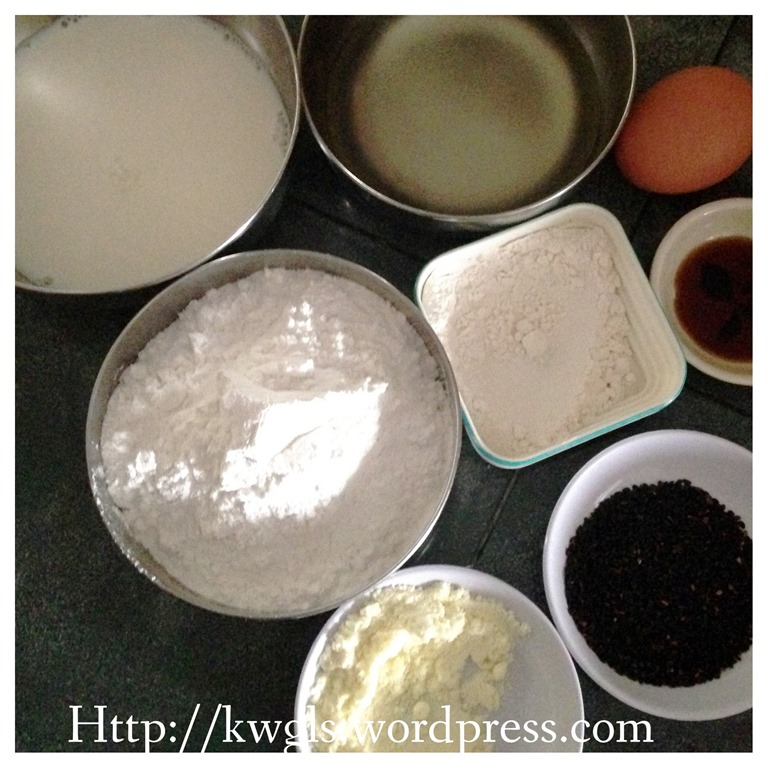
  • 180 grams of glutinous rice flour
  • 20 grams of bread flour (optional)
  • 10 grams of milk powder
  • 120 grams of milk
  • 60 grams of vegetable oil
  • 20 grams of roasted black sesame seeds
  • 1 tablespoon of light soya sauce
  • 1 egg
  • Pinches of salt
* bread flour make the glutinous rice flour less springy and it is optional if you are looking for gluten free recipes.
IMG_44831

STEPS OF PREPARATON
  • Pre-heat the oven to 180 degree Celsius.
PicMonkey Collage1
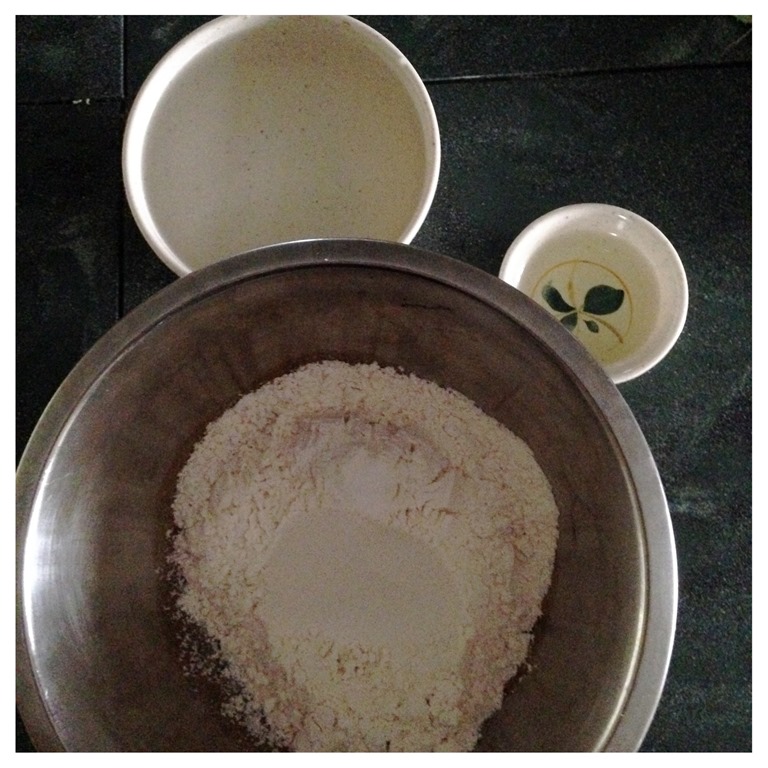
  • In a pot, place milk, vegetable oil, light soya sauce and salt. Bring to boil. Once it boils, add in glutinous rice flour, milk powder and bread flour. Off the heat and stir until it form a dough. Don’t worry it looks dry as eggs will be added later. Transfer the crumbly dough to the whisking bowl of a standing mixer and crack the egg.
IMG_4476
  • Beat until smooth, add in black sesame seeds and beat until well combined. If the dough is overly sticky, add glutinous rice flour tablespoon by tablespoon. Transfer the sticky dough in a work surface flour with glutinous rice flour, divide equally into 12 balls (about 40 grams each), pat your hands with some flour and shape it round. Bake in the pre-heated oven of 180 degree Celsius for 20 minutes or until golden brown. To ensure even colour distribution, turn the tray after 10 minutes interval. If you want the crust to be even more crispy, you can spray some water mist on the buns before sending in to the oven. Best served warm as a snack.
IMG_45071

CONCLUSION
Another gluten free “bread” (if you omitted the 20 grams bread flour) for readers to try out. Frankly speaking, I like the bread for its crispy crust,  springy interior texture and simple sesame taste.. It is definitely a good snack for one to munch on..
IMG_44971
Hope you like the post today. Cheers and have a nice day.
IMG_45191