INTRODUCTION
Imagine that you are painting a flat pan with some sticky batter… You try to cover the holes in between… You keep covering the holes until it become one piece… You take out the courage to use your hand to turn the crepe…after one minutes it is done….
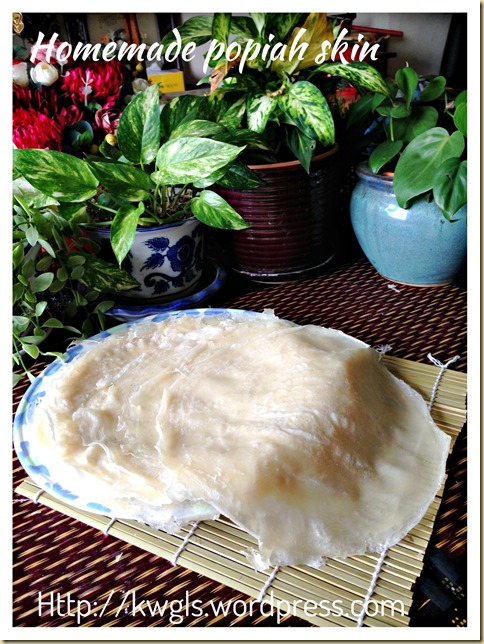
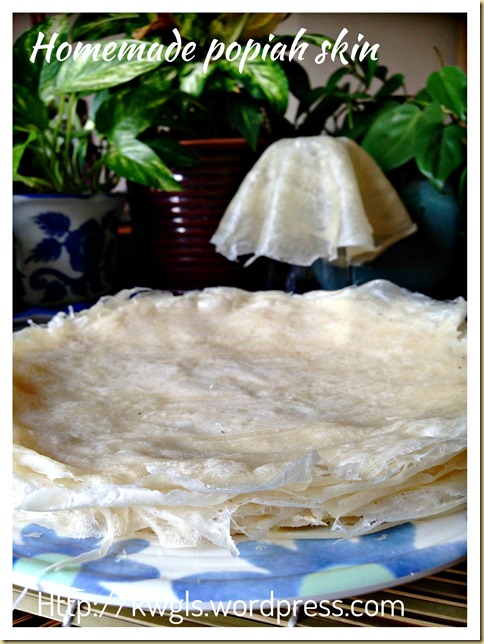
This is the home chef version of homemade spring roll skin recipe. Unlike the professional version where you need to knead the dough until gluten developed, soaked in the water for one hour, take out the dough ball, quickly rub the ball against the hot flat pan leaving a thin sheet of dough in the pan… That is not for house chefs and they need years of experience to get the required thickness and timing correct… I have decided not to try this recipe as I am not that ambitious….
I almost give up when I prepared my first few sheets.. It broke terribly …. Unsure what went wrong but obviously it was because of the suggested rubbing oil in the pan that I followed…. After preparing 3-4 sheets, I started to get the feel, I alter the batter a bit to make it slightly stickier and it become much easier… By the end of the exercise.. I am confident to share with all this recipe and the method of preparation…. I hope this will give house chefs who failed before some confidence that it can be done it we are “calm and cooked on”, Haha..
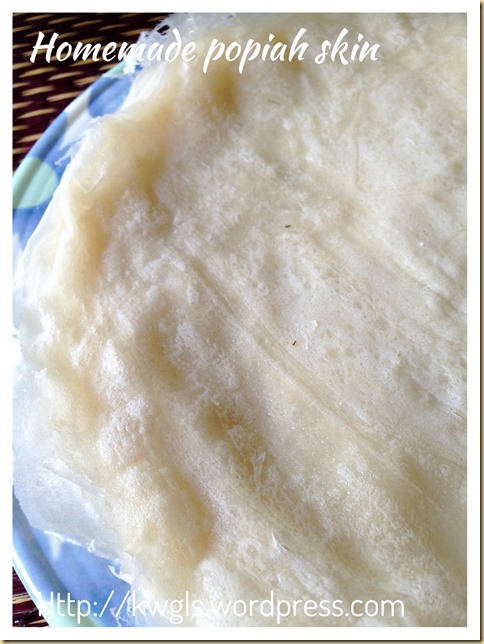
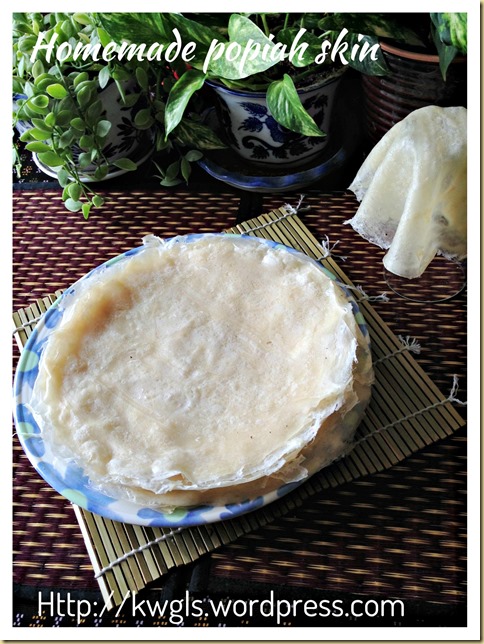
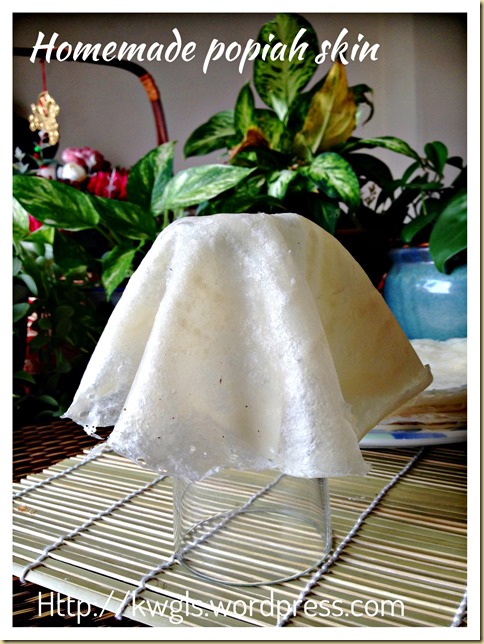
It is expected that the skin is slightly thicker and uneven as compared to the commercially sold version.. It doesn’t matter to me at all.. When freshly prepared, it is soft and goes well with the filling.. A bit thicker is not a hindrance for me to prepare again next time.. I feel comfortable and happy with this batch of spring roll skin… Though thicker, it is less prone to breaking and is it not better for us?
I prepared this is because I craved for Sarawak style of dry popiah .. I prepared these popiah for lunches and I am happy that it’s done. If you are interested, you can refer to this post: Malaysian Singaporean Chinese Food–Popiah Sarawak Style (干式薄饼)These popiahs are great for party as you can hold and socialize around and it can be prepared well in advance…
WHAT IS REQUIRED
Servings: Prepared about 15 crepes depending on your thickness.
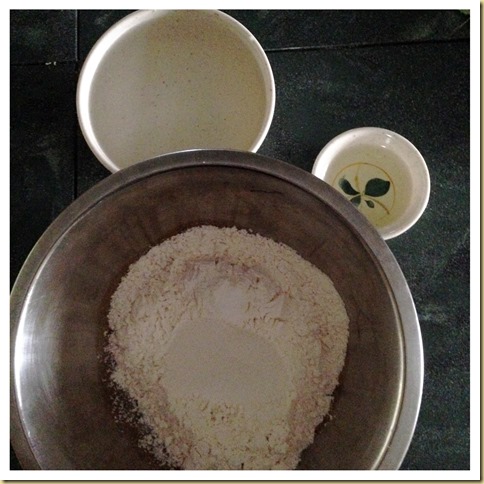
- 160 grams of high protein flour or bread flour
- 250 grams or ml of plain water
- pinches of salt
- 1 tablespoon of cooking oil
STEPS OF PREARATION
- Mix all the ingredients together , stir until it is free of lumps. If you prefer, you can use and mixer to beat a few minutes until no lumps were sighted. Cover with a piece of wet towel or clingy wrap and let it rest for about 1 hour to enhance the stretch ability.
- When the batter is ready, heat up a flat non stick frying pan (about 9 inches diameter or bigger) until it is warm. As long as you can feel the heat over the pan, the pan is ready. Turn to low heat. Get ready a brush and brush some batter on top of the pan.
- Brush the entire pan until it is fully covered with the batter. Once the batter sets (means not sticky) and the sides curls up, use the hand to take out the crepe and turn to cook the other side for about 1 minute. The crepe is considered as cooked once it dries up. Note that once it dries up, you have to take out the crepe. Otherwise, it will be burnt or become too crispy for wrapping.
Notes:
- If you do not have a non-stick pan, LIGHTLY GREASE the pan with an oiled tissue paper. Too much oil in the pan will be very difficult to “brush” the pan;
- Make sure that you stir the batter before you brush the pan. The flour will settle at the bottom and making it very difficult to brush with watery batter.
- This is a recipe with great tolerance for error. A bit more flour is okay. If you find that the batter is too watery to brush, meaning, the brushing is very thin, add one tablespoon of flour to the batter until you are comfortable with the consistency of the batter.
- Do give yourself some allowances of few unsuccessful pieces initially, and do not care too much about the unevenness.. it will gradually get better. There are always learning curves in the preparation.
- Cover the popiah skin with some moist but not wet cloth if you are not using it immediately. Alternatively, put in an air tight container.
CONCLUSION
If you are not a perfectionist, do go ahead to try and such imperfections combined well with the popiah fillings and none of the guest will notice and ever complain your imperfections…Thicker skin will also boost your confidence of wrapping the popiah as it is less likely to break.. If you are an artist, I presumed you can “draw” better and produce a better even one than me, ha-ha…. Do try, it is really an achievement to have home made popiah skin.
Lastly, I hope that this post will benefit overseas members or even local members whom have difficulty to buy freshly made popiah skin… Have a nice day and cheers..






No comments:
Post a Comment